What to Plant: How to Grow Chard
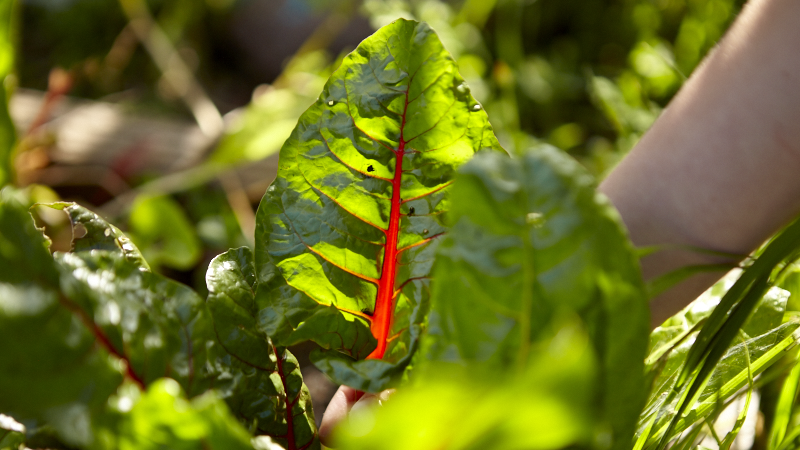

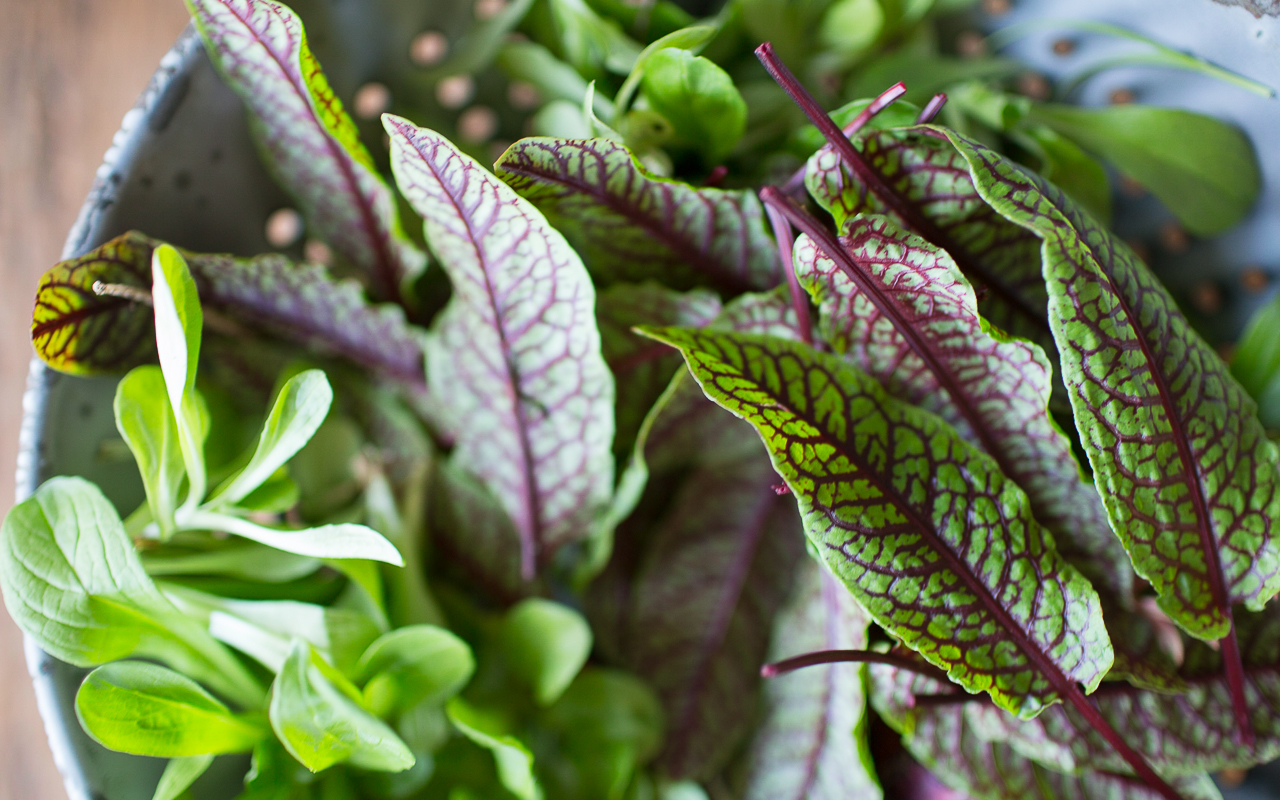
If you’re planning your spring garden, put Swiss chard on the list. It’s not only delicious and easy to grow, it’s a super food packed with more nutrition than kale. (Yes, it’s true. Kale is good for you, and chard is too. See the research.) High in vitamins A, C, K and 13 different antioxidants that include anthocyanin, chard is packed with disease fighting, diabetes mending, and anti-inflammatory goodness — and you can grow your own!
Chard is a biennial that can sometimes behave as a perennial in the mildest of climates. Plus it’s a cool weather veg that tolerates heat — especially when given shade through the hottest days of summer. This means, if planted in early spring, leafy greens can be enjoyed for months without end.
It’s also the darling of edible landscaping. Plant chard strategically for the most striking, eye popping value. Place along borders, edges of beds, or in swaths that run down the middle of raised beds or planters for the biggest visual impact.
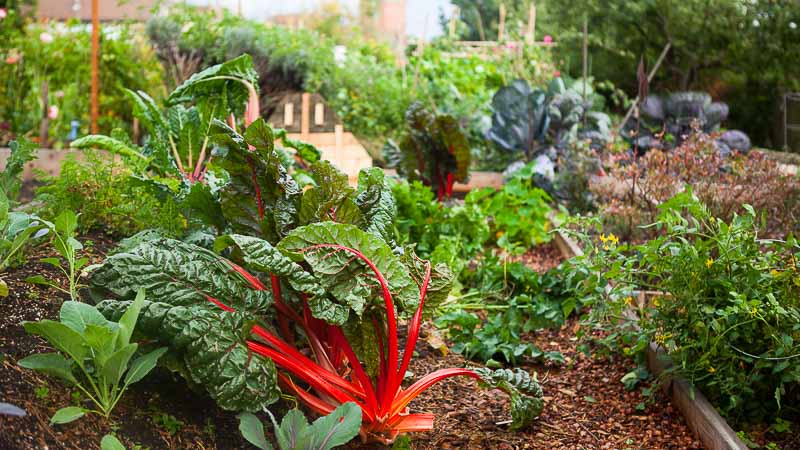
Grow Your Own
- Prepare a planting bed that has plenty of rooting depth. A wine box isn’t deep enough for summer long growth, consider a container or bed that is at least 12 inches deep and wide enough to give plants plenty of elbow room.
- Thrives in full sun to part shade.
- Chard prefers rich soil with excellent drainage. Amend with aged manure and/or compost and plan to apply organic, compost tea later in summer to give it a boost.
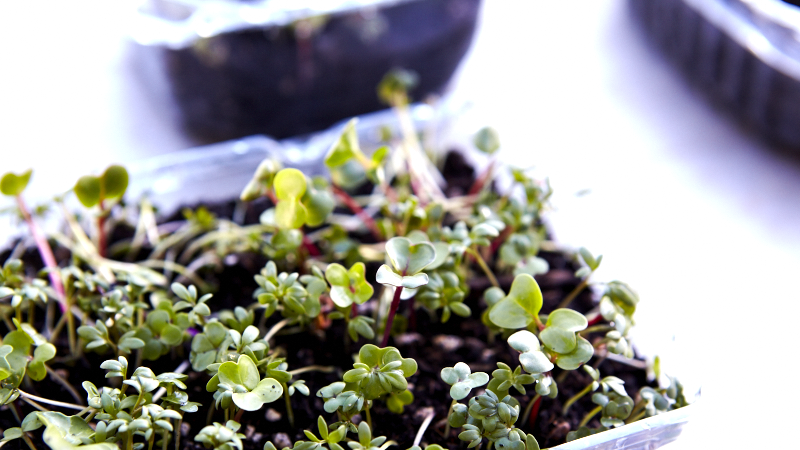
- Direct sow seeds 2 to 4 weeks before your last spring frost or start indoors about 4 to 6 weeks before your last spring frost. Transplant seedlings to the garden when they’ve grown true leaves and they’re about 4 weeks old.
- Pre-soak seeds to quicken germination. Bury seeds 1/2 inch deep and space them about 3 to 5 inches apart.
- Thin seedlings to about 10 to 12 inches apart, leaving the sturdiest of the bunch, and eat your thinnings.
- Proper spacing between plants improves air circulation and decreases diseases common to chard.
- Mulch plants with coarse compost, leaves, or fine bark to decrease the splashing of water during rain events or when watering (this also decrease the spread of fungal diseases) and to insulate soil.
- Too little water and too much sun can affect the flavor of chard. Be sure to water consistently and plant in part shade if you’re gardening in extreme heat or intense sun. Consider planting chard on the north side of taller crops.
- Tolerates frost and temperatures down to 15 degrees F. Extend your season with cold frames, or pot up and bring inside to protect through winter and plant back out in spring.
- Collect seeds the spring after planting. Seeds save for up to 3 years!
Harvest
- Gather outside leaves, taking a handful of leaves per plant at any one time.
- Small, young leaves are the most tender.
- Harvesting stimulates continued leaf growth, however, don’t be greedy and over harvest.
- Gather and eat as needed for full freshness or rinse and store for up to 3 days in the refrigerator.
Eat
- Eat chard fresh in salads or cook as you would spinach.
- Chop leaves and stalks, using both in any given recipe. Or separate stalks from leaves and grill stalks like you would asparagus.
- Try adding chard to soups, pastas, pizza, or calzone.
- Use leaves as wraps. Fill with rice, mushrooms, or cheeses and bake as you would manicotti, topped with a light layer of marinara.
- Add chard to risotto, grain salads, quiche, or empanadas.
- Experiment, have fun, and eat your greens. You can’t go wrong.
Other articles you might enjoy:
What to Plant: Planning for Spring
Listen
Buy The Book
Special offers
Newsletter Signup

Archives
Disclosure
Pass The Pistil is a participant in the Amazon Services LLC Associates Program and other affiliate programs such as Etsy, affiliate advertising programs designed to provide a means for sites to earn fees by advertising and linking to curated affiliate sites.







One of my favorites and a staple here in Central, New York. I blanch and freeze the end of the season and use all winter in many recipes.
Hi Carolyn, I’ve never tried freezing the leaves after blanching but it makes perfect sense. What a wonderful tip, thanks for sharing. ;)