How to Grow Sprouts with DIY Sprouting Jars

Antsy for spring? Move over winter blues, time for some green love without the wait. Grow your own sprouts with a handful of seeds and jars you already have at home.
Growing your own sprouts is simple and a fabulous pick-me-up this time of year. You can get your hands on some seeds and watch them grow within days. Make the perfect stir-fry, salad fixings or spicy sandwich addition.
Start with the basics such as Mung beans, other legumes, radishes, and alfalfa. You can find some of these in the dry good section of your market and others at your hardware store or nursery. Experiment as you go.
DIY Sprouting Jar and Seed Preparation
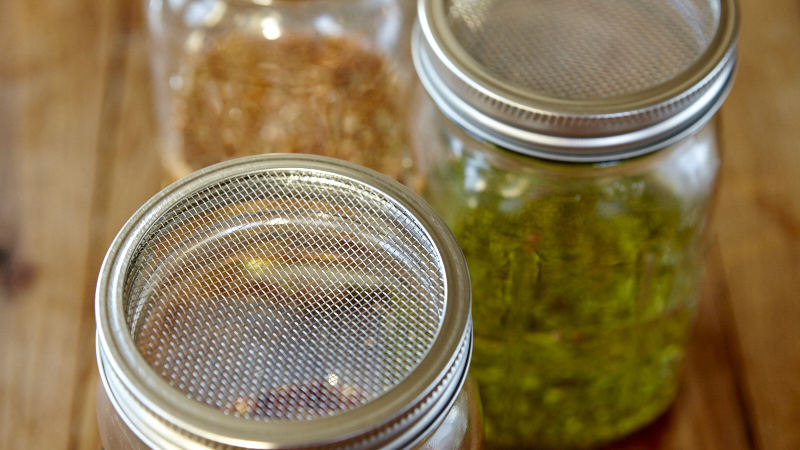
You’ll need a quart-size canning jar with the ring, small square of flexible screen (your hardware store can cut it to size upon request), scissors, grapefruit seed extract, seeds suitable for sprouting, and water. I bet you have at least 4 of these items, if not all of them, at home waiting to become your next growing project.
Once you’ve gathered your supplies, start by cutting out your screen material to fit inside the ring of the jar. Use the lid itself (ring or lid) as the template. I find it helpful to put the screen against the lid and trace the perimeter of the lid on the screen using a marker. Then make your cuts using scissors.
Next, sterilize your jar(s) and screen lids by running them through the dishwasher or boiling them, like you would before canning. It’s also possible to disinfect jars with medical grade rubbing alcohol. This is worth doing if your jars have been cleaned but sitting on the shelf for a while.
While your jars are cooking sterilize your seeds. This may sound counter-intuitive but it’s critical. Much of the bad press we’ve heard about sprouts, specifically relating to Salmonella and E. coli poisoning, is due to pathogens on the seeds, residues of earlier environments. When you’re sterilizing the seeds you’re only doing so to the seed coat, the protective shell or skin of the seed. The part you will eventually eat, the baby plant with endosperm is locked away safely inside.
To sterilize seeds simply cover them with water and add a drop of grapefruit seed extract (GSE). This kills any bacteria instantly on contact. Rinse them well and they’re ready for use.
[Read some of the science behind GSE and seed germination here.]As a note, while my preferred method for sterilizing seeds is with grapefruit seed extract, it’s also possible to use 3% hydrogen peroxide. To use this method, gently warm the seeds in a 3% hydrogen peroxide solution to 140 degrees Fahrenheit for 5 minutes and then rinse them well. Use a cooking thermometer to get the temperature right. See the University of California Growing Seed Sprouts at Home recommendations for specifics.
Basically, the ideal environment for seed sprouting also happens to be the ideal environment for growing bacteria. Cleaning your containers and seeds will eliminate this problem, again much the same way we do when canning.
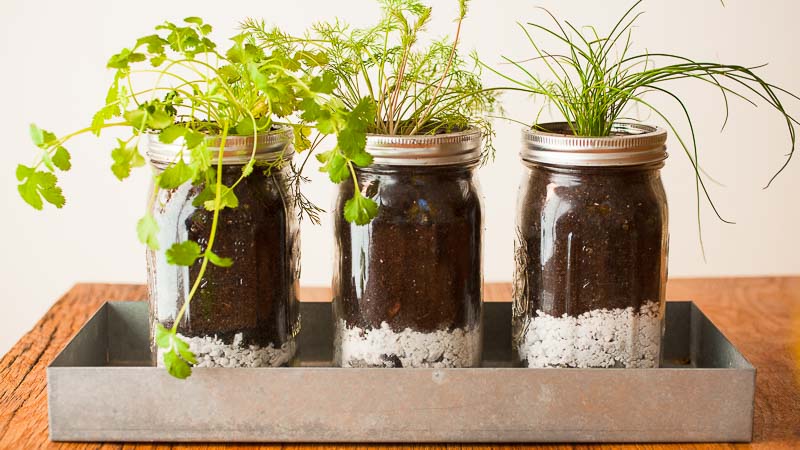
DIY Sprouts
Your jars are ready and your seeds are ready, now it’s time for sprouting.
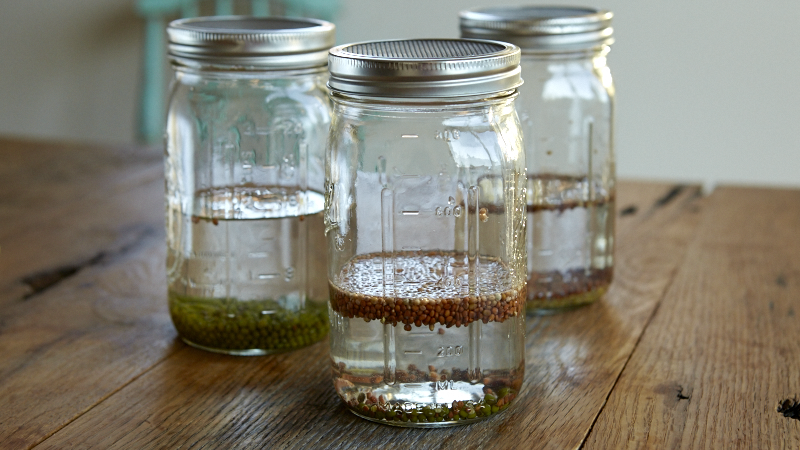
Place 2 tablespoons seeds in your jar and cover with water plus an extra inch. Tighten on the screen lid with ring and let soak overnight or approximately 12 hours. This tells the seeds it time to grow. The seed coats soften, they swell with water and any germination inhibitors are leached away.
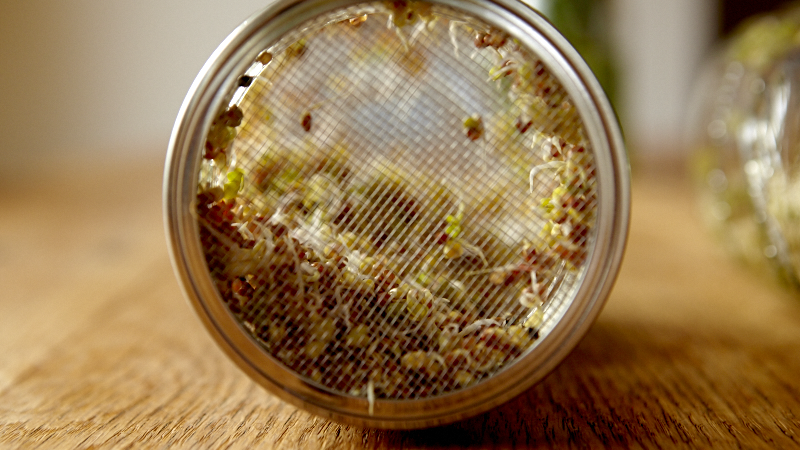
After soaking, drain off the water and gently shake the seeds so they spread out along one side of the jar. This provides greater surface area and improves air circulation. Leave the jar to rest on its side out of the direct sun.
Rinse twice daily by filling the jar with water, draining and putting it back to rest on its side until the next rinsing or until they’re ready to eat — usually 2 to 4 days, though some seeds take longer.
Rearrange your kitchen counter if you need to, replace the bills and other projects with your new, DIY sprouting jar and get ready to watch your seeds grow. You’re one step away from your own indoor garden.

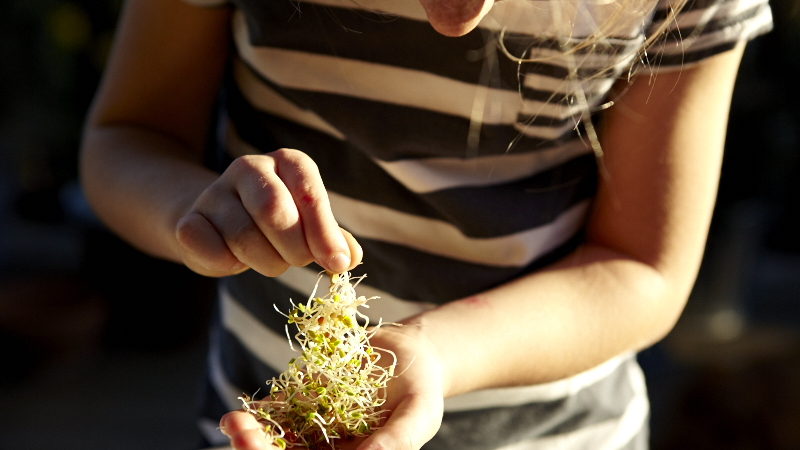


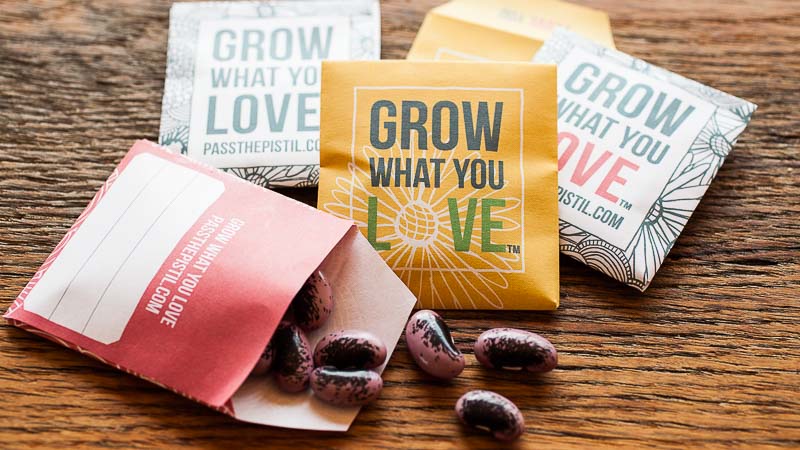
Grow what you love and pass it on. ;)
Other articles you might enjoy:
Superfoods: Grow & Eat a Rainbow of Colors
What to Plant: Easiest Herbs to Grow Indoors
*This article was originally published in February of 2015.

Listen


Buy The Book

Special offers
Newsletter Signup
Archives
Disclosure
Pass The Pistil is a participant in the Amazon Services LLC Associates Program and other affiliate programs such as Etsy, affiliate advertising programs designed to provide a means for sites to earn fees by advertising and linking to curated affiliate sites.


I’ve added this to the How To section: http://farmwhisperer.com/how-to
Awesome! Will check it out! Thank you!